


This tutorial has pictures from several of the bags I have made

Okay, here is my post on some hints, tips and construction points for the Weekender bag. I have pictures from the construction of all three of my recent Weekender bags. Throughout this post, I will link some great tutorials I have found on bag construction. The instructions for this bag are good and I will just add a bit when putting the entire bag together.
My first thing is to highly encourage you to buy a piping foot or a single welt cord foot (home dec type foot) if you don't own one. I think the single welt cord foot has a deeper groove for larger piping. This will make the construction of this bag so much easier.
Here is a picture of my foot
Next, buy the 30" zipper, this is not the easiest thing to find. I picked out some fabric for my first Weekender Bag and couldn't find a good match for a 30" zipper. You can usually find these in black, white and cream. The zipper doesn't show much but a nice match is always helpful. The material list states a non-separating zipper but I have used a separating zipper and stitched that part together.
Plan on cutting out all the fabric, interfacing and peltex at one time, this will take at least an hour. Then fuse the interfacing to all pieces. Don't rush the fusing, you want a nice bond.
I fuse interfacing to the exterior fabric:
- Top panel (I fuse 2 pieces of interfacing to these panels - I like the stiffness for this area since you do not use peltex here)
- bottom panel
- End pocket panel
- main panel
- large pocket panel
I cut Peltex for:
- Main Panels
- Large Pocket Panel
- Bottom
 |
| Picture Source - Sew Mama Sew
|
When marking the main panel for the handles, I like to use a yellow chalk marker, this shows up nicely on the panels

The instructions state to sew across the top of the handles where attached to the bag, I like to stitch an "X" for added reinforcement

I use spray adhesive to hold the Peltex to the interfaced fabric pieces. It is important to baste on your piping through all the layers. I like to move my needle over one position to cover the stitching for the piping construction.
 |

Mark the middle of the top panel and the main panel, pin on top and bottom. Then pin all the way around, working carefully around the corners.
Now it is time to wrestle the bag to sew all these layers together. So attach that single welt foot, move the needle to the over (closer to the piping) and start stitching.

Now to the do as I say not as I do part. I normally stitch this with the basting stich up, you can make sure you are sewing over the previous stitching and getting very close to the piping.
After I get all this stitched, I make sure I have sewn close to the piping.

If you have some places with the seam too far away from the piping, this is the time to correct that.
After all of this, I trim the Peltex away from the seam allowance

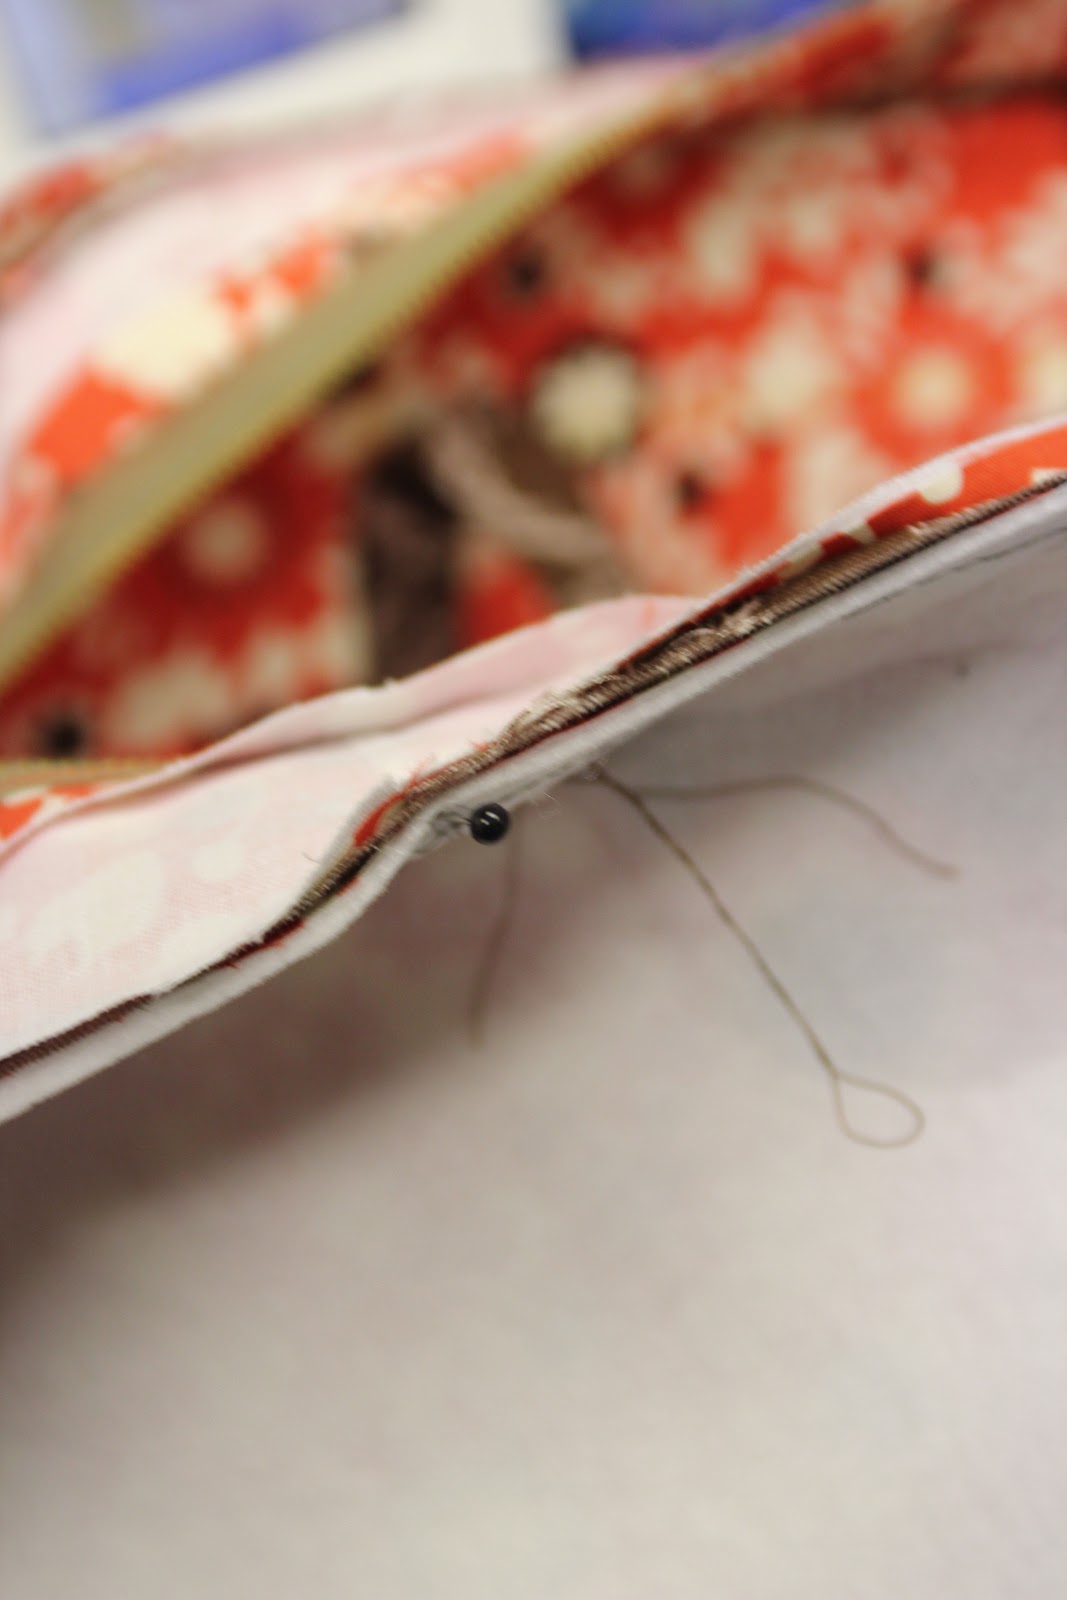
Before attaching the lining into the bag, I like to add purse feet to the bottom of the bag
 |
| Purse feet in upper left corner - hard to see on this fabric
|
I found a fantastic tutorial for this when making my first Sophia Bag, check it out here
Finally, I only put one large pocket panel on my Weekender bags, using the exterior fabric for both sides.

On the other side of Erin's bag, I made a pocket like this one:

To recap, here are pictures of the Weekender Bags I have made
 |
| The houndstooth is mine and it does have piping on the bottom. |

one for a graduation present

one for a friend

 |
| Helped my friend on this one |
I hope this helps, please email me if you need any other information or clarification.

That's a really informative post. Thank you so much.
ReplyDeleteThere are some good tips here for bag construction generally. Thanks!
ReplyDeleteThank you for those good instructions. The Weekender with the Sophia makes a really nice overnight set.
ReplyDeleteThank you, thank you, thank you! As you know, I got my materials in the fall andI'm ready to start cutting out. I'm so glad you forged the road ahead for me!
ReplyDeleteGreat tips, Lori. Now you just have to get to NYC for a buying trip. You would be AMAZED at all the neat things you can find here for bag construction. I mean, I'm blown away by the huge choice in zipper pulls alone.
ReplyDeleteThose are all so pretty, and thanks for the helpful tips! Someday, that is on my to-do list...
ReplyDeleteGreat tips, Lori! I always learn so much from your podcasts and websites. Donna
ReplyDeleteGreat post, what lovely bags!
ReplyDeleteThis is a great post and tutorial Lori. Your girls are so grown up in the photo:-)
ReplyDeleteI wish I had read this before I made my bag!! Great tips. I had many frustrating moments, and several broken needles, but I managed not to cry. Haha.
ReplyDeleteI would like to make this bag and have it as light as possible. Any ideas?
ReplyDeleteI am new to using patterns. Do I have to get the "54 wide fabric? The fabrics I want are all "44 and I am wondering if I can get away with that (and just buy an extra yard or so).. Thank you!
ReplyDeleteJust use the 45" fabric, I think on the pattern envelope it tells you how much to purchase if using 45". If not buy extra. Good luck and have fun.
DeleteThanks Lori! I ordered the pattern yesterday! Great post!
Deletethe whole look is gorgeous! great outfit!
ReplyDeleteLori I LOVE this bag. Especially your colors. I make totes and quilt. I've often thought of making this bag and now that you have, I'll just jump right in.
ReplyDeleteThanks!
Great tutorial - I'm now off to cut my fabrics - will use your very good idea of not piping all around the main panels and your idea about the second pocket. Thank you.
ReplyDeleteGreat tutorial. Saw this and now I'm putting this bag on my to-do list. One question: How much fabric do you use JUST for the piping and handles? I would like to do them in a faux leather, but do not want to use it for the lining. Thanks!
ReplyDeleteAlayna, I would say 3/4 yard at the most would be good for the piping. You would want to cut it on the bias with the faux leather. The 3/4 yard would give you enough yardage to get a bias strip of good length but you will have extra fabric. Have fun making your bag.
DeleteHi Lori,
ReplyDeleteThanks for all of your tips for this bag. I plan to purchase this pattern and work on it this week. Can you tell me what type of fabric you used?
Charlene, I use quilting cotton when making these bags.
DeleteHi Lori,
ReplyDeleteThanks for all of your tips for this bag. I plan to purchase this pattern and work on it this week. Can you tell me what type of fabric you used?
Hi Lori,
ReplyDeleteThanks so much for your suggestion about my Weekender bag project. I actually think I figured it out...I missed your tip about using spray adhesive for the peltex. I'm in business!
Can't thank you enough for your help. :)
Christina
Oh, Christine, so happy to hear it all worked out. You will love your finished bag.
DeleteHi Lori, May I ask what pattern you used for the smaller houndstooth bag? That makes a very nice set! I've had the Weekender pattern for a couple of years now and I think I'm finally ready to tackle it.
ReplyDeleteIt is Amy Butler's Sophia bag
DeleteThanks!
DeleteFascinating information I haven’t been experienced such information in quite a long time. Remodel Spokane
ReplyDeletenice explanation, I am getting ready to start mine and will use many of your tips thanks!
ReplyDeleteDo you need Personal Finance?
ReplyDeleteBusiness Cash Finance?
Unsecured Finance
Fast and Simple Finance?
Quick Application Process?
Finance. Services Rendered include,
*Debt Consolidation Finance
*Business Finance Services
*Personal Finance services Help
contact us today and get the best lending service
personal cash business cash just email us below
Contact Us: financialserviceoffer876@gmail.com
call or add us on what's app +918929509036
Am short of words for the amazing profit you helped me earn in just a week with binary options strategy am so sorry I doubted at the beginning, I invested $200 and earn $2,500 in just one week, and kept on investing more, today I am financially successful, you can contact him via email: tdameritrade077@gmail.com
ReplyDeleteVia whatsapp: (+12166263236)
I advice you shouldn't hesitate. He's great.
MUST READ: Hello, I wilI highly recommend the services of hackersteve911 to anyone who wishes to recover their lost money either bitcoin or other cryptocurrencies from these online scammers, wallet hackers, or if you ever sent bitcoins to the wrong wallet address. I was able to recover my lost bitcoins from online swindlers in less than 24 hours after contacting them. They are the best professional hackers out there and I’m truly thankful for their help in recovering all I lost. If you need their service too, here is their contact information: hackersteve911@gmail.com
ReplyDeleteI am here to assist you with:
ReplyDelete1: Web design and development (full-stack)
2: Graphic Design
3: Video/Photo Editing
4: Virtual Assistant
5: Copywriting, Data Entry, Audio/Visual transcription
6: Game, Tutorial, Software Installation, etc
+393511705148